How to print a drawing at actual size
A picture has pixels. Your project needs millimetres or inches. The useful step is to connect those two things with a measurement you trust.
Choose a trustworthy measurement
If you know the final width or height, enter that value in Print Studio. Linefold keeps the image proportions. If your source includes a ruler or a labelled dimension, choose the two-point reference, mark the ends of that known distance and enter its real length. Do not assume that a file’s DPI metadata reflects the size you need.
Use a flat image
Import PNG, JPEG or WebP, up to 20 MB and 24 megapixels. A straight scan works well. A photo taken at an angle can have different scale at different points; the reference tool cannot correct perspective or lens distortion. Linefold currently does not import PDF or SVG files.
Try the botanical example
Download the original botanical PNG below. Set its width to 300 mm; its height becomes 400 mm. With A4 portrait, 10 mm margins and 10 mm overlap, the drawing spans two columns and two rows. An assembly overview and calibration page add two pages if enabled. These are layout calculations, not a physical printer test.
Export and verify
Keep the calibration page enabled and download the PDF. Open the printer dialog and select the same paper size. Choose Actual size / 100% and disable Fit to page, Shrink oversized pages or borderless expansion. Print the calibration page first and measure the 100 mm line.
Stop if the measurement is wrong
Check the PDF viewer and driver settings before printing more sheets. After assembling, check one known distance across a join. Save the drawing for craft use only after the measurement is acceptable for your own task; this tool is not an engineering certification.
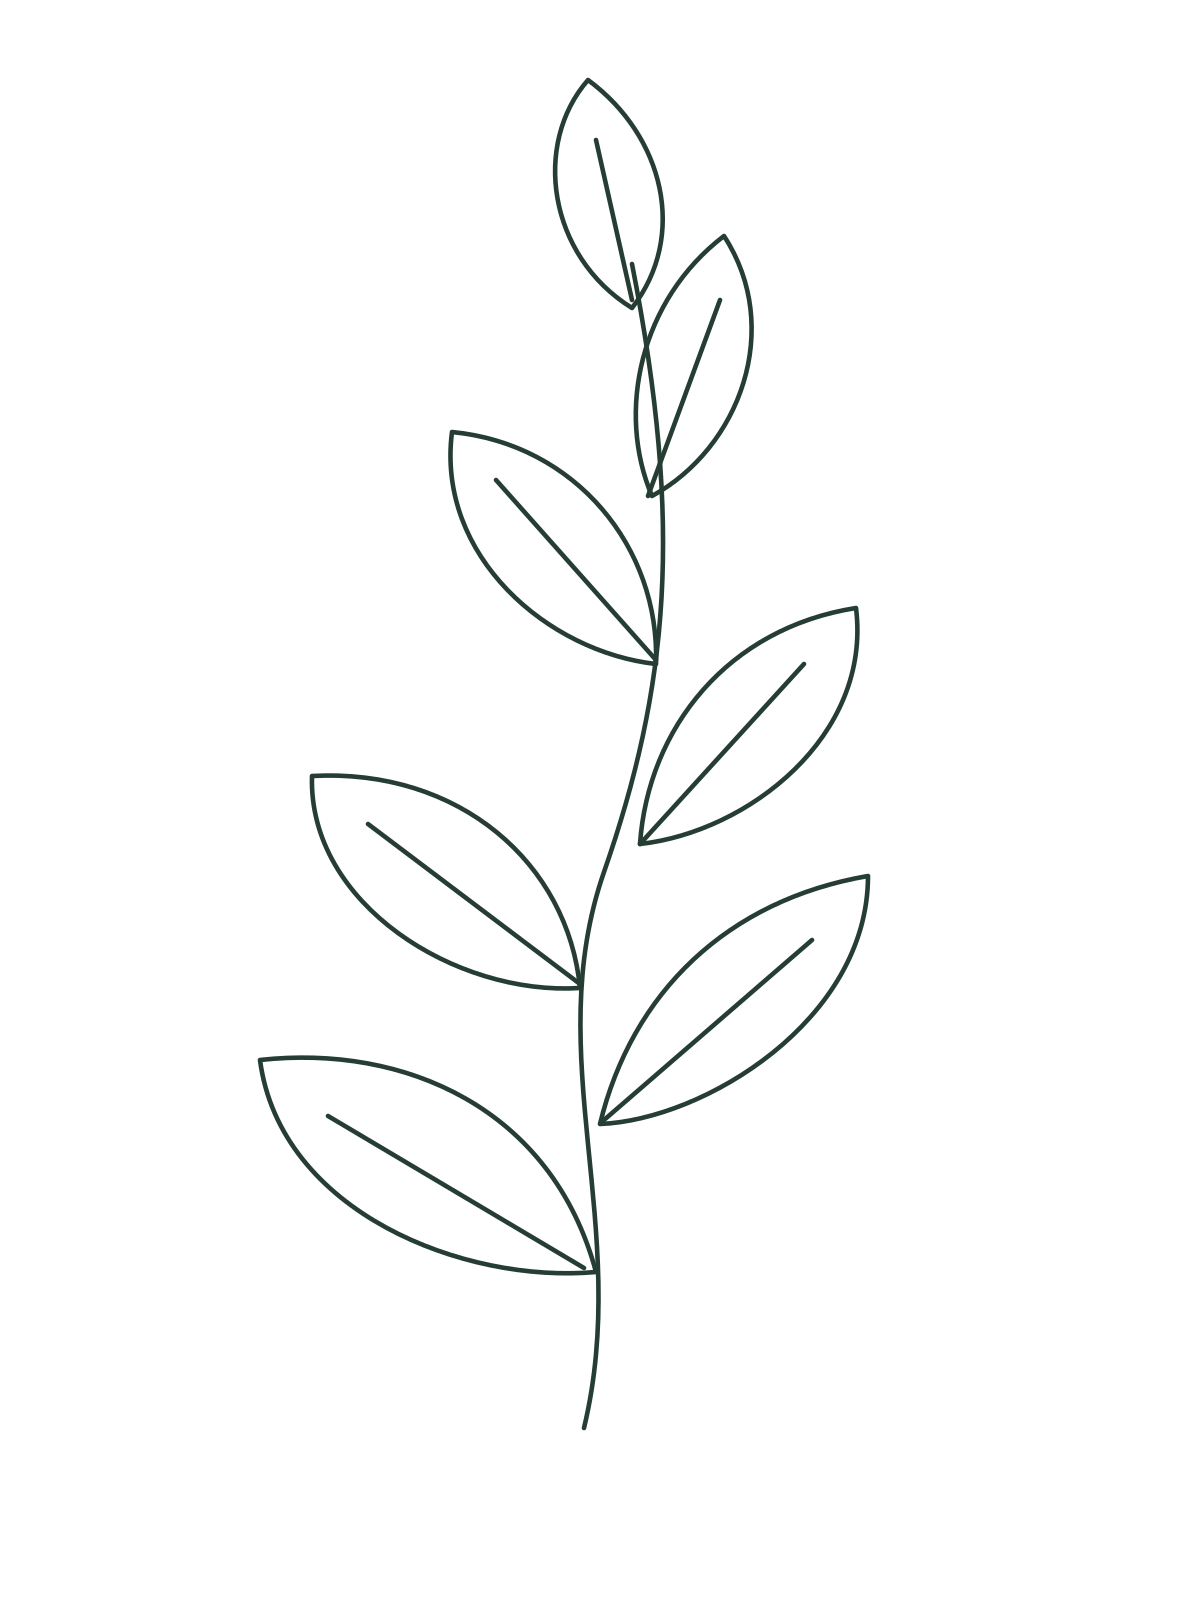
The examples are original Linefold drawings. Suggested settings are a reproducible layout exercise; physical results depend on your printer and assembly.